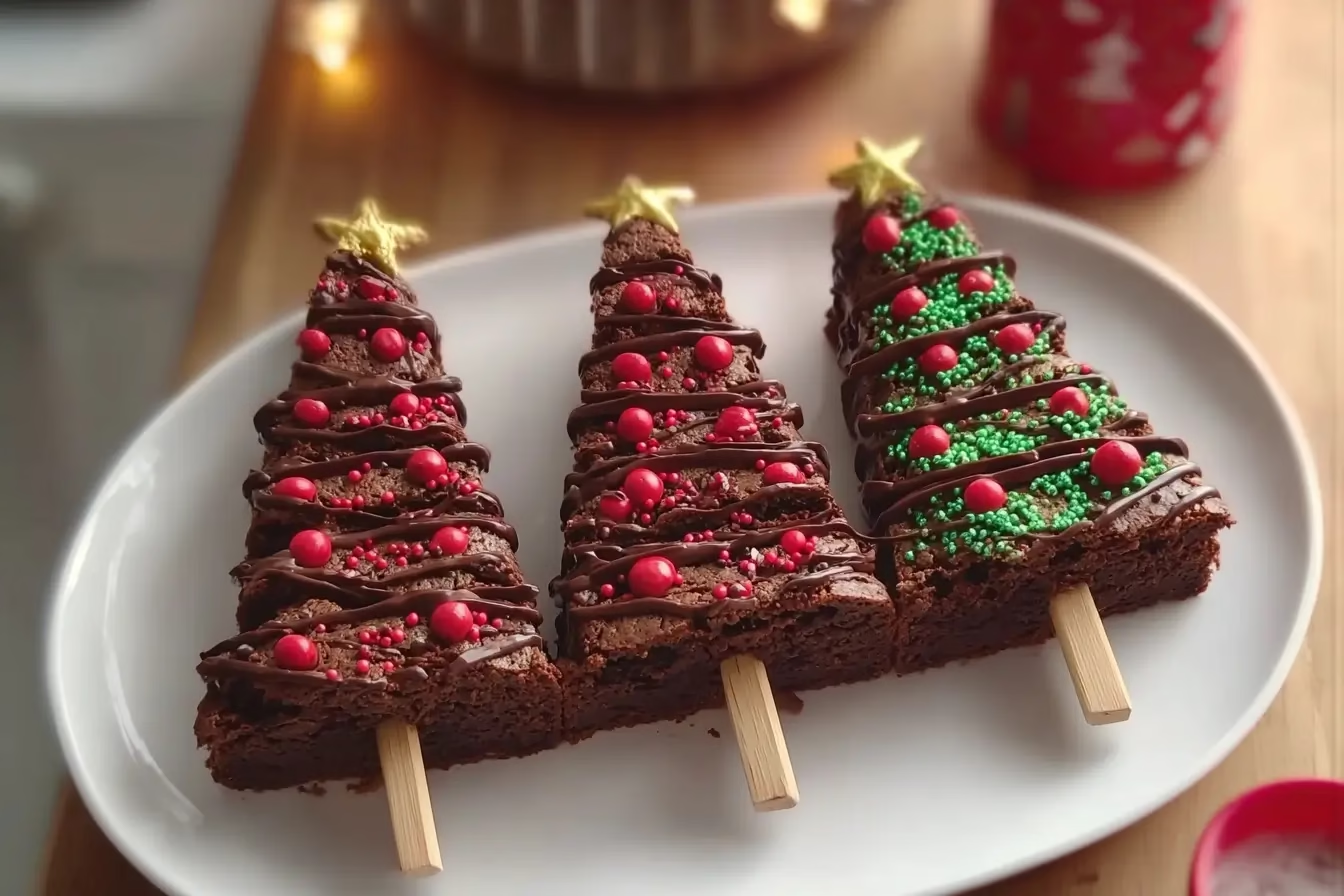
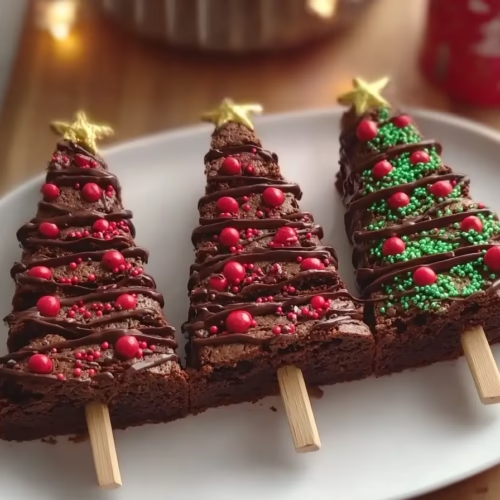
The holiday season always calls for those extra-special treats that bring a smile to every face and a sparkle to the dessert table. For me, few things feel more festive (or fun!) than Christmas Brownie Trees. Imagine rich, fudgy brownies transformed into little edible Christmas trees, decorated with colorful sprinkles, drizzled with white chocolate “garlands,” and served on popsicle sticks for a whimsical touch.
They’re part dessert, part holiday craft project, and absolutely perfect for cookie swaps, classroom parties, or as a centerpiece for your Christmas dessert table. These brownie trees don’t just taste amazing—they also spark that childlike joy we all crave during the holiday season.
So, roll up your sleeves, preheat that oven, and let’s create a batch of brownies that will have everyone asking, “How did you make these look so cute?”

Christmas Brownie Trees
Ingredients
- 2 large eggs
- 130 g brown sugar about ⅔ cup; granulated sugar can be substituted
- 90 g salted butter if using unsalted, add a pinch more salt
- 160 g bittersweet chocolate semi-sweet also works
- 5 g cocoa powder about 1 tablespoon; Dutch-processed preferred
- 65 g all-purpose flour about ½ cup
- optional mix-ins chopped nuts, extra chocolate chunks, or cookie pieces
- white chocolate melted, for decorating; candy melts also work
- green food coloring to tint white chocolate for garlands
- Christmas sprinkles for decoration
- popsicle sticks optional, for serving
Instructions
- Preheat the oven to 350°F (175°C). Grease and line a 20cm square baking pan with parchment paper.
- Melt the bittersweet chocolate and butter together in a microwave-safe bowl or double boiler until smooth. Stir well to combine.
- Whisk in the brown sugar, then add eggs one at a time, mixing until the batter becomes glossy and thick.
- Sift in flour and cocoa powder. Fold gently until just combined. Stir in any optional mix-ins.
- Spread the batter evenly into the prepared pan and bake for 40 minutes, or until a toothpick comes out with a few moist crumbs.
- Allow brownies to cool completely in the pan. Once cooled, remove and cut into triangle shapes to resemble Christmas trees.
- Tint melted white chocolate with green food coloring. Drizzle in zigzag patterns over each brownie tree to form garlands.
- Add Christmas sprinkles as ornaments while the chocolate is still soft, then allow it to set.
- Insert popsicle sticks into the base of each triangle for a festive handheld treat (optional).
Notes
Nutrition
Why You’ll Love Christmas Brownie Trees
A Fun Holiday Project
Baking these brownies is more than just whipping up dessert—it’s a holiday activity. Kids can help with stirring, decorating, and of course, taste-testing sprinkles.
Fudgy and Decadent
This isn’t your average brownie recipe. With bittersweet chocolate, cocoa, and brown sugar, the brownies turn out dense, fudgy, and irresistibly rich.
Easy to Decorate
All you need is a little tinted white chocolate and festive sprinkles, and suddenly your dessert looks like it came from a holiday bakery window.
Perfect for Gifting
Pop them in cellophane bags, tie with a ribbon, and you’ve got the sweetest edible gift for neighbors, teachers, or coworkers.
Ingredients Breakdown (with Substitutions)
Let’s talk ingredients and some handy swaps in case your pantry is missing something:
- Eggs (2 large): Essential for structure and that fudgy texture.
- Brown sugar (130g / about ⅔ cup): Adds depth and chewiness. Swap with granulated sugar if needed, but brown sugar gives a richer flavor.
- Salted butter (90g): Balances sweetness. If using unsalted, add a pinch more salt.
- Bittersweet chocolate (160g): The base of flavor. Semi-sweet works too, but bittersweet gives that bold richness.
- Cocoa powder (5g / 1 tablespoon): Intensifies chocolate flavor. Use Dutch-processed for a deeper taste.
- All-purpose flour (65g / ½ cup): Keeps things chewy rather than cakey.
- Optional mix-ins: Chopped nuts, extra chocolate chunks, or even cookie bits for extra texture.
- White chocolate + food coloring: For those fun zigzag “garlands.” Candy melts also work well.
- Christmas sprinkles: Because no holiday treat is complete without sparkle.
- Popsicle sticks: Optional, but they make serving (and photographing!) these trees so much cuter.
Step-by-Step Instructions
1. Prepare the Pan
Preheat oven to 350°F (175°C). Grease and line a 20cm square pan with parchment paper. This will make lifting out the brownies much easier.
2. Melt Chocolate and Butter
In a microwave-safe or double-boiler bowl, melt chocolate and butter together until smooth. Stir well to create a glossy base.
3. Mix Wet Ingredients
Whisk in the brown sugar, then add eggs one at a time. The batter should become shiny and thick.
4. Add Dry Ingredients
Sift in flour and cocoa powder, folding gently until just combined. If using nuts or cookie pieces, add them now.
5. Bake
Spread batter evenly into the pan. Bake for about 40 minutes or until a toothpick comes out with a few moist crumbs.
6. Cool and Cut
Cool completely before slicing. Once set, remove from pan and cut into triangles to mimic Christmas tree shapes.
7. Decorate
Tint melted white chocolate with green food coloring. Drizzle in zigzags across each “tree.” Add sprinkles as ornaments, then let the chocolate harden.
8. Add Popsicle Sticks
Insert popsicle sticks into the base of each triangle for a fun, handheld treat.
Variations, Storage & Serving Ideas
- Minty Magic: Add ½ teaspoon peppermint extract to the batter for holiday flavor.
- Nutty Crunch: Walnuts or pecans add crunch and balance out the richness.
- Frosted Trees: Swap white chocolate drizzle for buttercream “garlands.”
- Storage: Store in an airtight container at room temperature for 3–4 days. They can also be frozen (undecorated) for up to a month.
FAQs: Christmas Brownie Trees
How can I make the brownies extra fudgy?
Bake just until the center is set and a toothpick shows a few moist crumbs.
Measure flour lightly and accurately to avoid drying the batter.
Use real melted chocolate plus cocoa for rich texture and flavor.
Cool completely before cutting so the crumb sets and stays dense.
What’s the cleanest way to cut perfect tree shapes?
Chill the baked slab 30–45 minutes to firm the crumb for sharp cuts.
Use a long sharp knife and wipe the blade clean between slices.
Trim edges, cut into even rows, then slice triangles from each strip.
Reserve trimmings for parfaits, sundaes, or the baker’s snack.
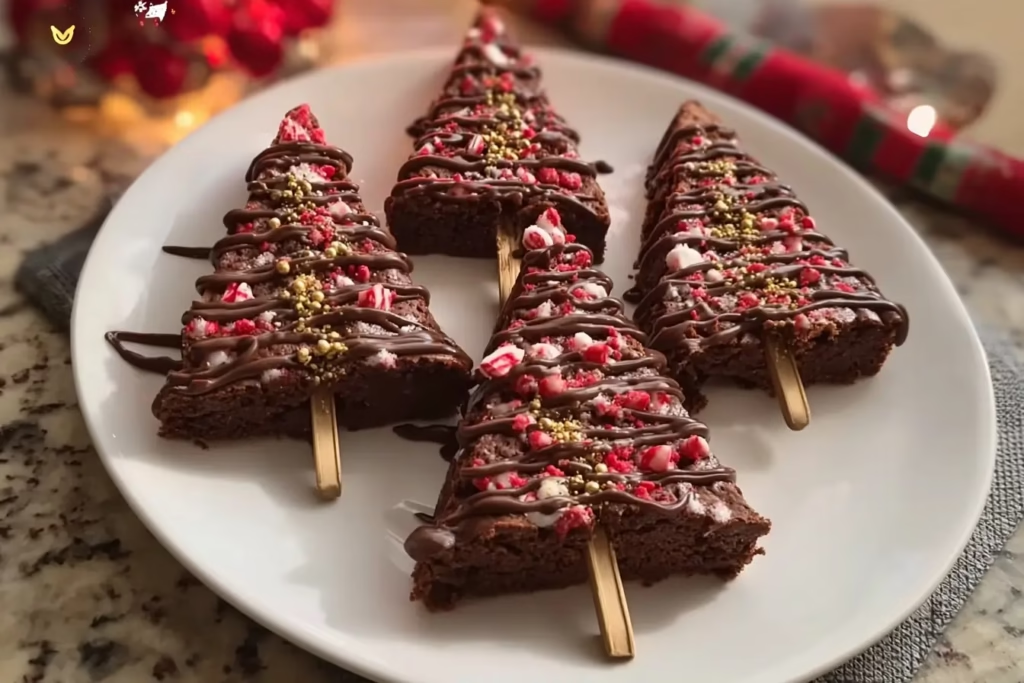
Can I decorate without candy melts or food coloring?
Pipe plain melted white chocolate for snowy “garlands.”
Dust with powdered sugar for a frosty tree look.
Use crushed peppermint, gold pearls, or mini M&M “ornaments.”
Drizzle dark chocolate for contrast and simple elegance.
How far in advance can I make and store them?
Bake up to two days ahead; decorate the day you serve for best crunch.
Store in an airtight container at room temp for 3–4 days.
Freeze undecorated triangles up to one month, well wrapped.
Thaw overnight, then add drizzle and sprinkles before serving.
For even more cozy baking ideas
And because the holidays deserve all the flavors:
- No-Bake Pumpkin Pie
- Chocolate Orange Cake
- Italian Chocolate Pear Cake
- Candied Almonds
- Cranberry Orange Glazed Turkey Breast
- Garlic Butter Bread Rolls
- Strawberry Shortcake Cheesecake Truffles
- Chocolate Orange Truffles
- Christmas Nutella Cupcakes
- Crockpot Candy
Join the fun on Pinterest and follow along on Facebook for even more festive inspiration.
